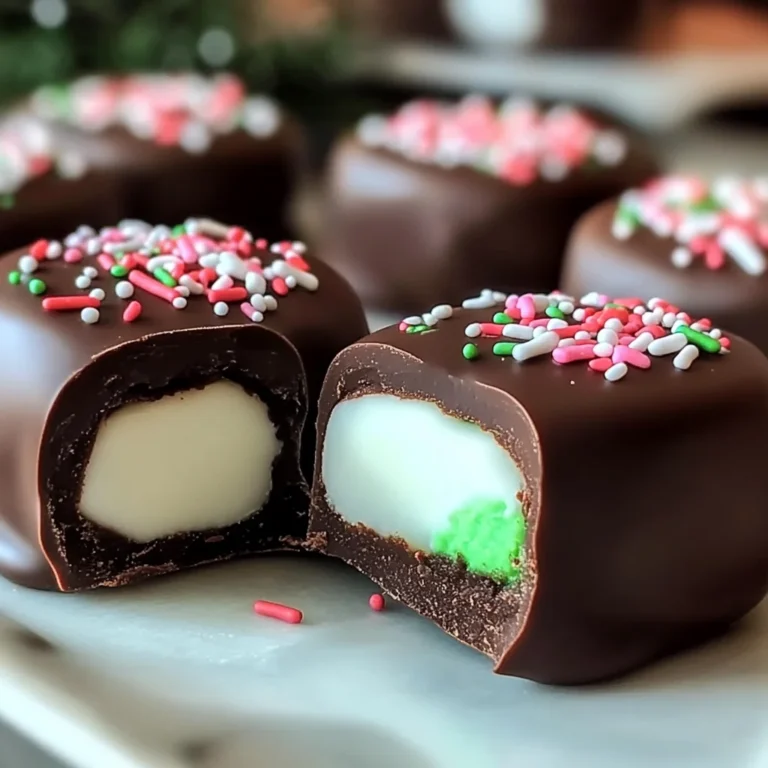
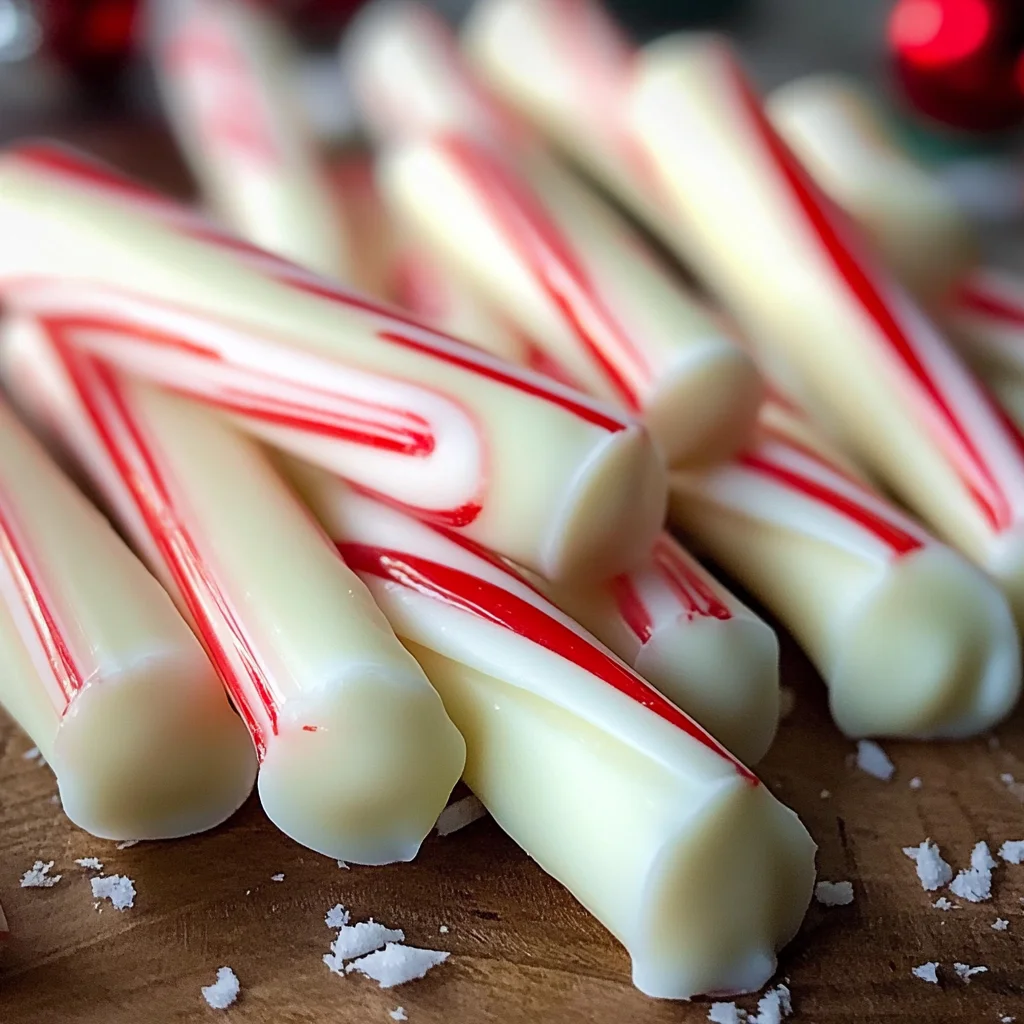
Homemade Christmas Peppermint Sticks
Homemade Christmas Peppermint Sticks are a delightful treat perfect for the holiday season. They combine sweet white chocolate with refreshing peppermint flavors, making them an ideal gift or festive snack. These treats are not only easy to make but also versatile enough to suit various occasions, from holiday parties to cozy family gatherings. You can enjoy these Homemade Christmas Peppermint Sticks as a sweet indulgence or use them to decorate desserts and drinks.
Why You’ll Love This Recipe
- Simple Preparation: With just three ingredients, this recipe is straightforward and quick to prepare.
- Delicious Flavor: The combination of creamy white chocolate and refreshing peppermint creates a delightful flavor that everyone loves.
- Perfect for Gifting: These peppermint sticks make wonderful homemade gifts during the holiday season.
- Versatile Usage: Use them as decorations for cakes, cupcakes, or even hot cocoa for an extra festive touch.
- Fun Activity: Making these peppermint sticks can be a fun activity to do with friends or family.
Tools and Preparation
To create your Homemade Christmas Peppermint Sticks, you’ll need some basic kitchen tools. Gather the following items before starting.
Essential Tools and Equipment
- Candy thermometer
- Baking sheet
- Parchment paper
- Microwave-safe bowl
Importance of Each Tool
- Candy thermometer: Ensures the right temperature for melting chocolate without burning it.
- Baking sheet: Provides a flat surface to cool and set your peppermint sticks evenly.
- Parchment paper: Prevents sticking and makes cleanup easy when you’re working with melted chocolate.
- Microwave-safe bowl: Safely melts the white chocolate for your recipe.
Ingredients
For the Peppermint Sticks
- 1 package of candy canes (12 pieces)
- 12 ounces of white chocolate
- 1 teaspoon peppermint essence
Servings: 4
Prep Time: 10 minutes
Cook Time: 10 minutes
Total Time: 70 minutes
How to Make Homemade Christmas Peppermint Sticks
Step 1: Prepare Your Workspace
Start by laying out all your tools and ingredients. Line the baking sheet with parchment paper for easy cleanup later.
Step 2: Melt the White Chocolate
- Place the white chocolate in a microwave-safe bowl.
- Heat in the microwave in 30-second intervals, stirring after each interval until fully melted and smooth.
Step 3: Add Peppermint Essence
Once melted, stir in the peppermint essence. This will infuse the chocolate with a lovely minty flavor.
Step 4: Dip the Candy Canes
- Take each candy cane, dip it into the melted white chocolate, ensuring it’s well coated.
- Allow excess chocolate to drip off before placing it on the prepared baking sheet.
Step 5: Let Them Set
Let the dipped candy canes sit at room temperature until the chocolate hardens completely, which may take about an hour.
Step 6: Serve or Gift!
Once set, your Homemade Christmas Peppermint Sticks are ready! Enjoy them yourself or package them nicely as gifts for family and friends.
How to Serve Homemade Christmas Peppermint Sticks
Homemade Christmas Peppermint Sticks are a delightful treat that can add a festive touch to your gatherings. Here are some creative serving suggestions to make the most of these sweet delights.
On a Festive Platter
- Arrange your peppermint sticks on a decorative platter, mixing them with other holiday candies for a colorful display.
As Sweet Party Favors
- Wrap each peppermint stick in cellophane and tie with a ribbon. These make great edible gifts for guests to take home.
In Hot Chocolate
- Use your peppermint sticks as stirring sticks for hot chocolate. They will melt slightly, adding a minty flavor to the drink.
As Cake Decorations
- Crush some peppermint sticks and sprinkle them over cakes or cupcakes for an extra festive touch.
How to Perfect Homemade Christmas Peppermint Sticks
Making Homemade Christmas Peppermint Sticks is simple, but here are some tips to ensure they turn out perfectly every time.
- Choose quality chocolate: Use good-quality white chocolate for the best flavor and smooth melting.
- Chill properly: Allow the melted chocolate to cool slightly before dipping the candy canes. This helps the chocolate adhere better.
- Use fresh peppermint essence: Fresh essence adds a stronger flavor and enhances the overall taste of your peppermint sticks.
- Decorate creatively: Consider drizzling dark chocolate over the white chocolate for added contrast and flavor.
Best Side Dishes for Homemade Christmas Peppermint Sticks
Pairing side dishes with your Homemade Christmas Peppermint Sticks can elevate your holiday spread. Here are some delicious options.
- Creamy Mashed Potatoes: Rich and buttery, these are a classic side that complements any festive meal.
- Roasted Brussels Sprouts: Tossed in olive oil and seasoning, these provide a crunchy texture and earthy flavor.
- Green Bean Almondine: Sautéed green beans with slivered almonds create an appealing dish with nutty undertones.
- Stuffing with Cranberries: A savory stuffing mixed with dried cranberries offers a sweet twist that pairs well with peppermint flavors.
- Honey-Glazed Carrots: Sweet and tender, honey-glazed carrots add color and sweetness to your table.
- Quinoa Salad: A refreshing quinoa salad with herbs and citrus makes for a light contrast to rich holiday dishes.
Common Mistakes to Avoid
When making your Homemade Christmas Peppermint Sticks, it’s easy to overlook some details. Here are common mistakes to avoid:
- Using low-quality chocolate: Low-quality chocolate may not melt smoothly, affecting the texture of your sticks. Always opt for high-quality white chocolate for the best results.
- Not crushing candy canes finely: Large pieces can create an uneven texture and make it hard to coat the sticks. Make sure to crush candy canes into small, uniform bits for a smoother finish.
- Skipping the peppermint essence: Omitting peppermint essence will lead to a bland flavor. Adding this ingredient elevates the minty taste of your Homemade Christmas Peppermint Sticks.
- Rushing the cooling process: Not allowing enough time for the sticks to cool can result in a sticky mess. Be patient and let them cool completely before serving.
- Improper storage: Storing your peppermint sticks incorrectly can lead to them becoming stale or losing their crunch. Keep them in an airtight container to maintain freshness.
Storage & Reheating Instructions
Refrigerator Storage
- Store in an airtight container to keep moisture out.
- They will last up to 2 weeks in the refrigerator.
Freezing Homemade Christmas Peppermint Sticks
- Wrap each stick individually in plastic wrap before placing them in a freezer-safe bag.
- They can be frozen for up to 3 months.
Reheating Homemade Christmas Peppermint Sticks
- Oven: Preheat the oven to 200°F (93°C) and place a single layer on a baking sheet for about 5 minutes to soften slightly.
- Microwave: Heat on medium power for 15-second intervals until just softened; be careful not to melt completely.
- Stovetop: Place a pan over low heat and warm the sticks briefly while moving them around gently.
Frequently Asked Questions
If you’re curious about Homemade Christmas Peppermint Sticks, here are some answers:
How do I make Homemade Christmas Peppermint Sticks?
To make these festive treats, melt white chocolate and mix in crushed candy canes with peppermint essence. Coat sticks with this mixture and let them cool.
Can I customize my Homemade Christmas Peppermint Sticks?
Absolutely! Feel free to add colored sprinkles or different extracts like vanilla or almond for unique flavors.
How long do Homemade Christmas Peppermint Sticks last?
When stored properly, they can last up to 2 weeks in the refrigerator or up to 3 months when frozen.
What is the best way to crush candy canes?
Using a food processor is quick and effective. Alternatively, you can place them in a sealed bag and crush them with a rolling pin.
Can I use dark chocolate instead of white chocolate?
Yes, dark chocolate adds richness and pairs well with peppermint; however, ensure it complements your flavor preference.
Final Thoughts
Homemade Christmas Peppermint Sticks are not only delightful treats but also versatile gifts that you can easily customize. Whether you choose different toppings or modify flavors, these festive sticks are sure to impress family and friends. Try making them this holiday season!
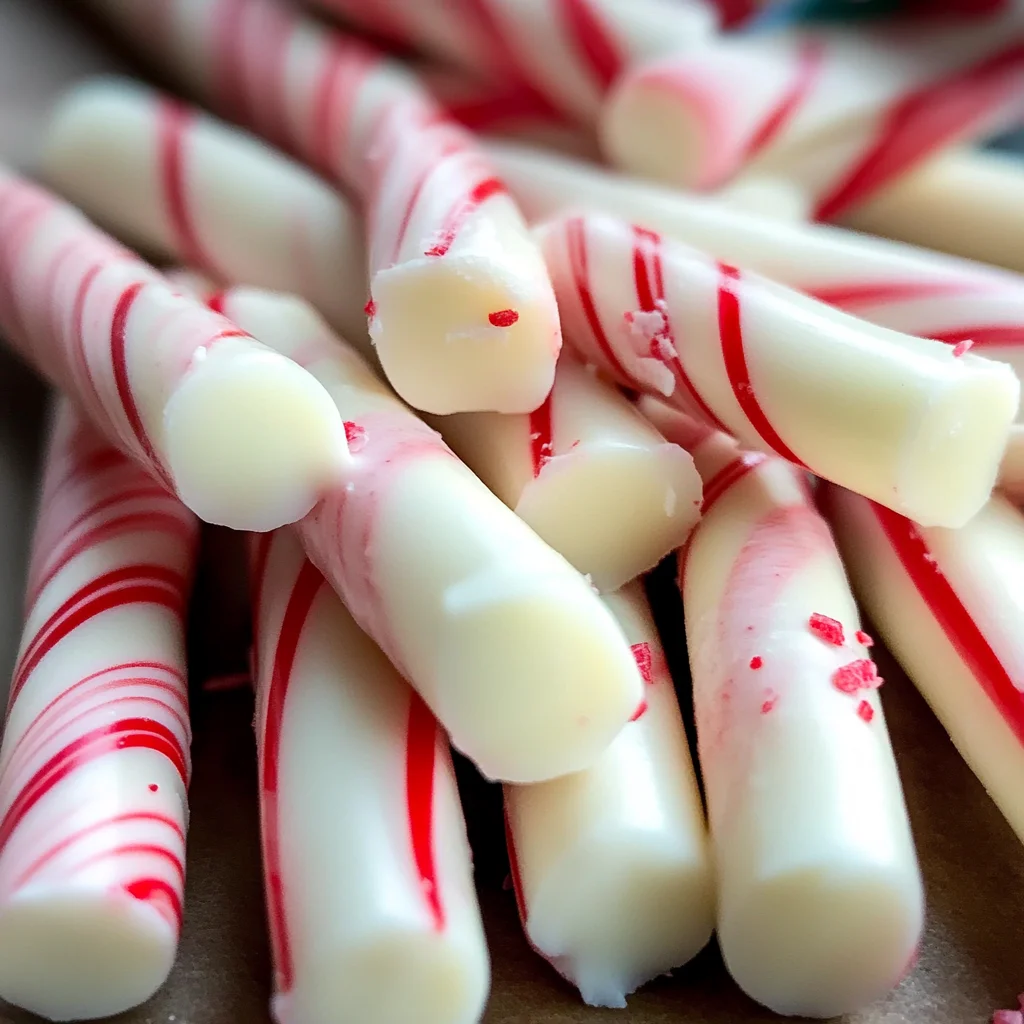
Homemade Christmas Peppermint Sticks
Homemade Christmas Peppermint Sticks are a festive delight that combines the sweetness of white chocolate with the invigorating flavor of peppermint. These charming treats are not only easy to make but also perfect for sharing during the holiday season. Whether you’re looking for a sweet gift or a fun activity with family, these peppermint sticks will add a joyful touch to your celebrations. With just a few simple ingredients and steps, you can create your own delicious peppermint sticks that are sure to impress.
- Prep Time: 10 minutes
- Cook Time: 10 minutes
- Total Time: 20 minutes
- Yield: 4 servings 1x
- Category: Dessert
- Method: Baking
- Cuisine: American
Ingredients
- 1 package of candy canes (12 pieces)
- 12 ounces of white chocolate
- 1 teaspoon peppermint essence
Instructions
- Prepare your workspace by lining a baking sheet with parchment paper.
- Melt the white chocolate in a microwave-safe bowl, heating in 30-second intervals until smooth.
- Stir in the peppermint essence to infuse flavor into the melted chocolate.
- Dip each candy cane into the melted chocolate, ensuring even coverage, and place them on the prepared baking sheet.
- Allow the chocolate-covered candy canes to set at room temperature for about an hour.
Nutrition
- Serving Size: 1 serving
- Calories: 110
- Sugar: 10g
- Sodium: 5mg
- Fat: 6g
- Saturated Fat: 4g
- Unsaturated Fat: 2g
- Trans Fat: 0g
- Carbohydrates: 13g
- Fiber: 0g
- Protein: 1g
- Cholesterol: 0mg